I am currently working on a bathroom tile project to be installed above my shower. Here is a run down of the process that I used for constructing and adhering my tiles.
I started by gridding out the space and figuring out what size tiles I needed (allowing for shrinkage of the clay).
I constructed 20, 5 1/8" tiles and 2, corner tiles to fit. I added a spiral wave relief using very soft clay and molding it with my hands and various carving tools.
 |
| Finished ocean tiles drying (slowly) |
|
After the tiles were glazed, I then painted them with commercial lusters (fired at a very low temp). I did gold luster highlights under the crests of the waves and an opalescent luster on the body of the waves (shows up as dark turquoise)
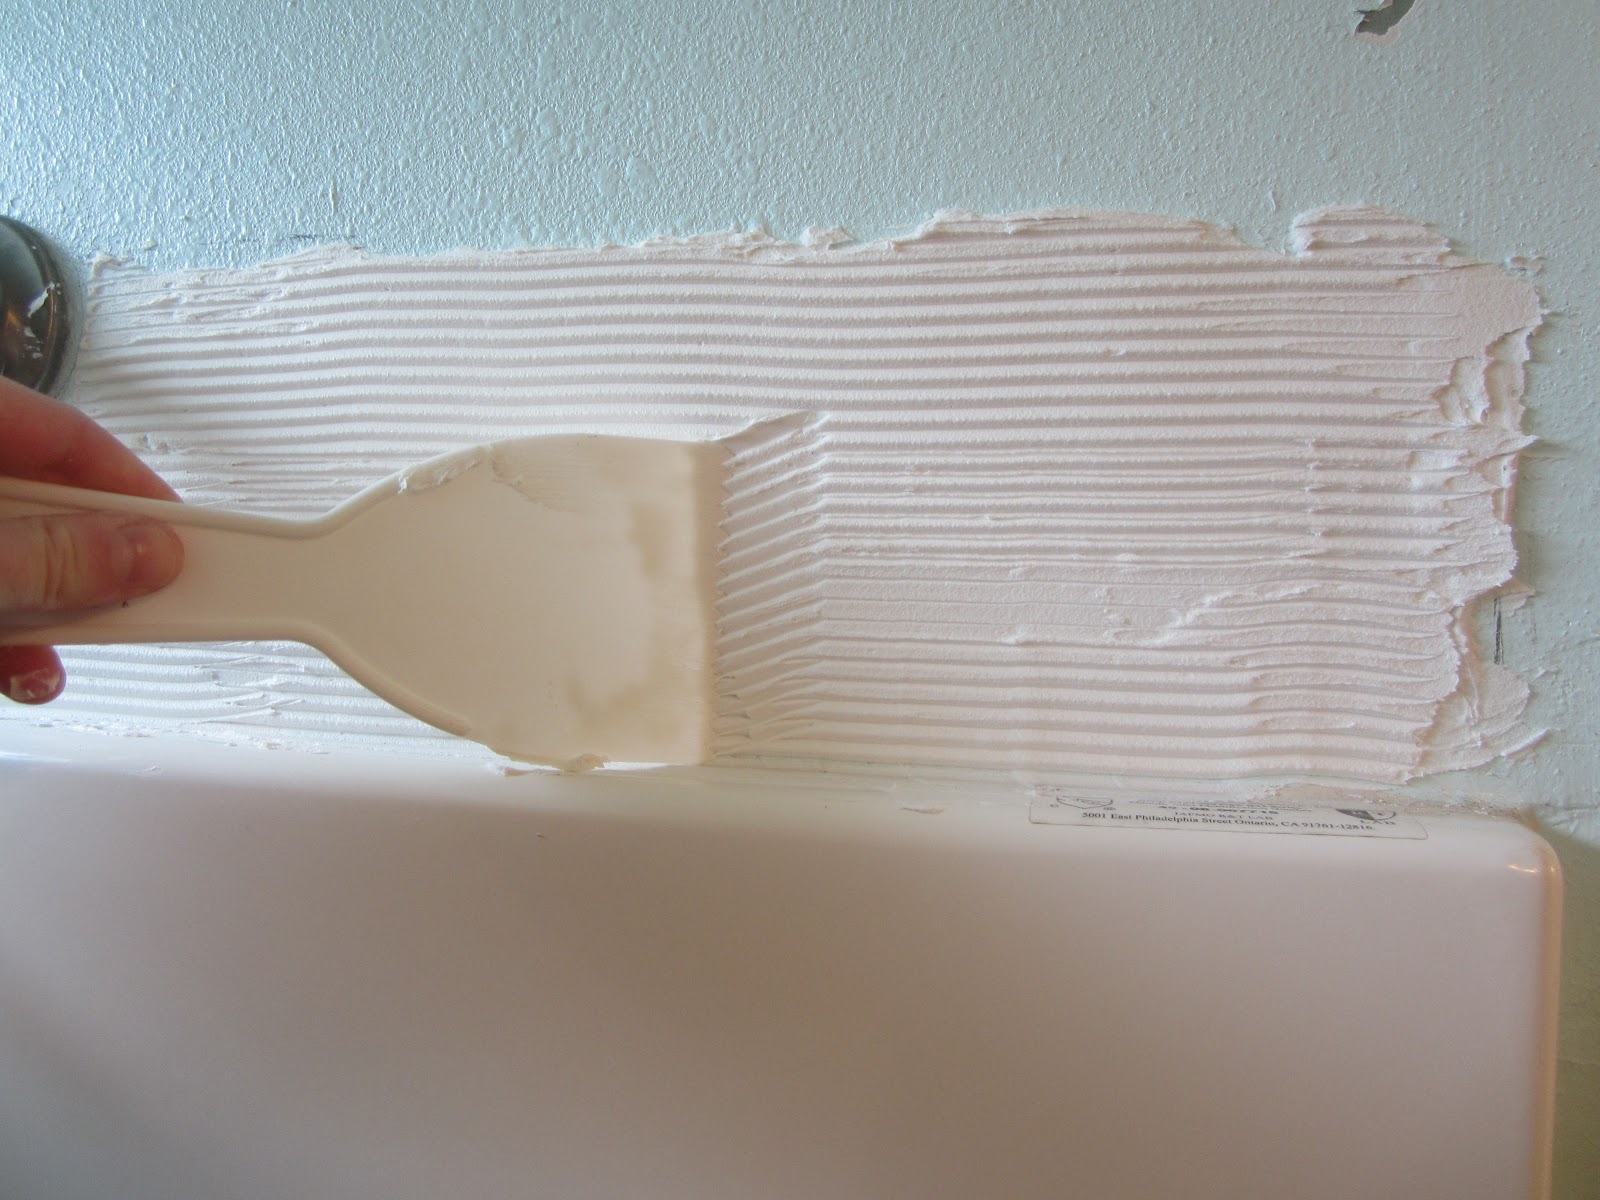
INSTALLATION: I used a commercial adhesive (OmniGrip brand, max strength adhesive) and layered it on where I wanted the tiles to go- I used a zig zag spreader (official tool name, I'm sure) to give it some tooth.
I then pressed my tiles firmly into the adhesive and spaced them accordingly, letting the adhesive squish out of the cracks.
You can then wipe the excess away in the grooves with a finger
Use a cloth or scrubber to clean up the rest of the tiles once grout has set up a little in the grooves
And voila!
|


1 comment:
Love this project. I may even steal the technique - Moriah
Post a Comment